Storing your Hugo site in a Github repository makes it easy to automate re-generating and uploading
your site every time you create a new commit. I'll assume you have a Hugo site in a Github
repository already & walk through the steps to configure Github Actions to generate the site &
upload it using rsync over SSH, with key-based authentication:
In the root directory of your Hugo site, create a .github directory. Within that directory
create a workflows directory. Finally, within the workflows directory create an empty file
named main.yaml.
At the top of the file, add a name, I used the name of the site:
name: goterkyourself.com
The next section – on: – describes when to invoke the Action. I've set mine to build/deploy
on every push to the Git repository (with the push: section) and to offer manual deploys
(workflow_dispatch:):
  on:
    workflow_dispatch:
    push:
      branches:
        - main
The meat of the file is the jobs: configuration, which installs the necessary pre-requisites to
check out the repository, generate the Hugo site, and use rsync to deploy it:
jobs:
deploy:
runs-on: ubuntu-18.04steps:
- uses: actions/checkout@v2with:
submodules: false# Fetch Hugo themes (use true OR recursive to fetch)fetch-depth: 0# Fetch all history for .GitInfo and .Lastmod - name: Setup Hugouses: peaceiris/actions-hugo@v2with:
hugo-version: '0.74.2'# extended: true - name: Buildrun: hugo --minify - name: Deployid: deployuses: Pendect/action-rsyncer@v1.1.0env:
DEPLOY_KEY: ${{secrets.DEPLOY_KEY}}with:
flags: '-vzcrlp --delete --chmod=Dgo+rx,Fgo+r'options: ''ssh_options: ''src: 'public/'dest: 'SSH_USERNAME@SSH_HOST:HOST_PATH' - name: Display status from deployrun: echo "${{ steps.deploy.outputs.status }}"
Take particular note of the dest: line - this needs to contain the correct parameters the
deployment target. The HOST_PATH must include a trailing /, as well. An example dest value
is:
dest: 'bob@ssh.hostingco.com:/home/bob/htdocs/'
Generate Keys
With the Workflow in place the Action to build the site will work, but when it attempts to
rsync it will fail, because the Action doesn't have SSH access. To fix this, generate an SSH
key just for the Action. Hit <ENTER> when prompted for a passphrase:
  $ ssh-keygen -f github-action
  Generating public/private rsa key pair.
  Enter passphrase (empty for no passphrase):
  Enter same passphrase again:
  Your identification has been saved in github-action.
  Your public key has been saved in github-action.pub.
  The key fingerprint is:
  SHA256:umfz5GHZ0ke3xcGtXkJZ8fKztu6hSLe+6KEHHOuQMWY
  The key's randomart image is:
  +---[RSA 2048]----+
  |               .o|
  |              .oo|
  |              +oo|
  |       E .   . =.|
  |      o S o   +.*|
  |       + + + o +=|
  |      . o Boo.o= |
  |       .+=o+=.+ o|
  |      .o +=+.=++ |
  +----[SHA256]-----+
This generates a private key in the github-actions file, and a public key in
github-actions.pub. Copy the contents of github-actions.pub and add it to the
.authorized_keys file on the server to which the site will be deployed.
Give Github the Private Key
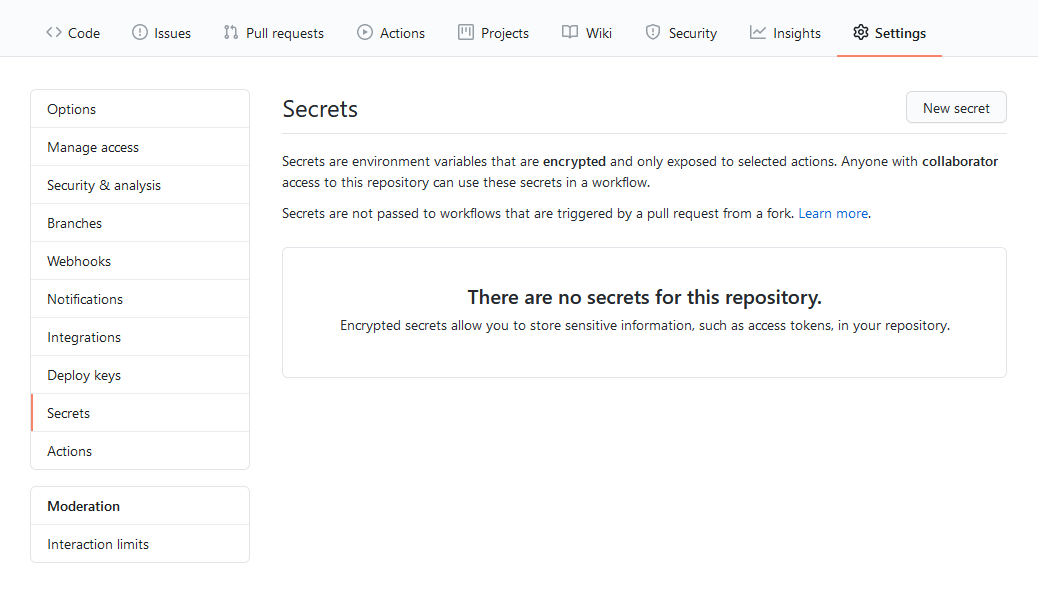
The contents of github-actions (the private key) need to be added to Github. Go to the
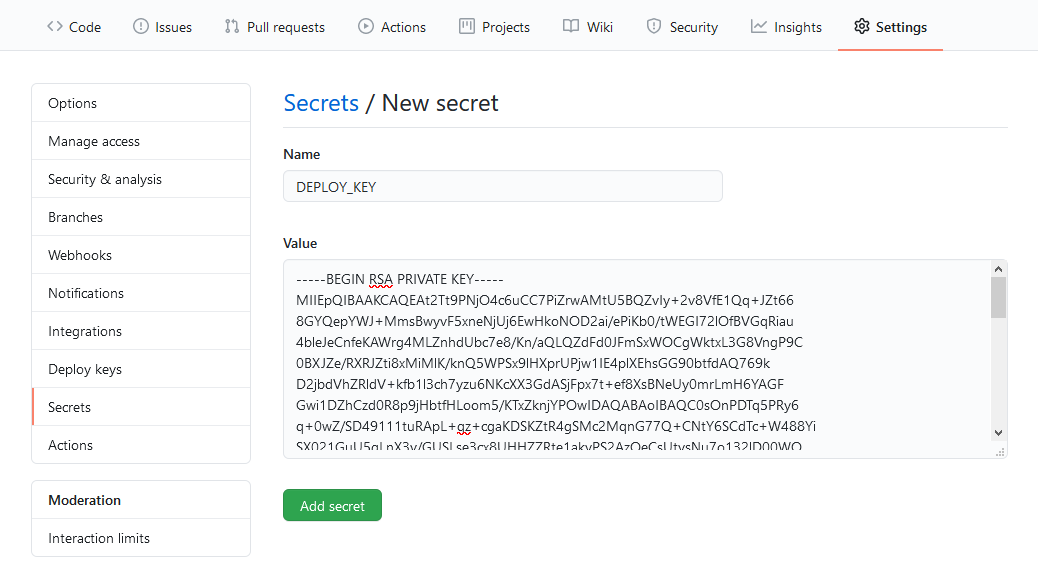
'Settings' page for the site's Github repository and select 'Secrets':Select 'New Secret'. Enter the 'Name' DEPLOY_KEY and paste the contents of the github-actions
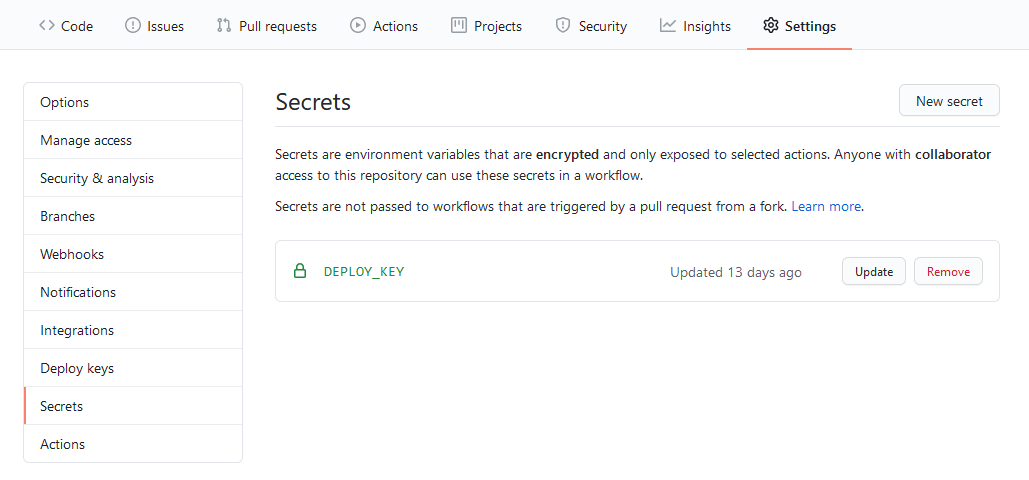
private key vile in the 'Value' box:After clicking 'Add secret' the key will appear in the list of secrets:
Test the Deploy
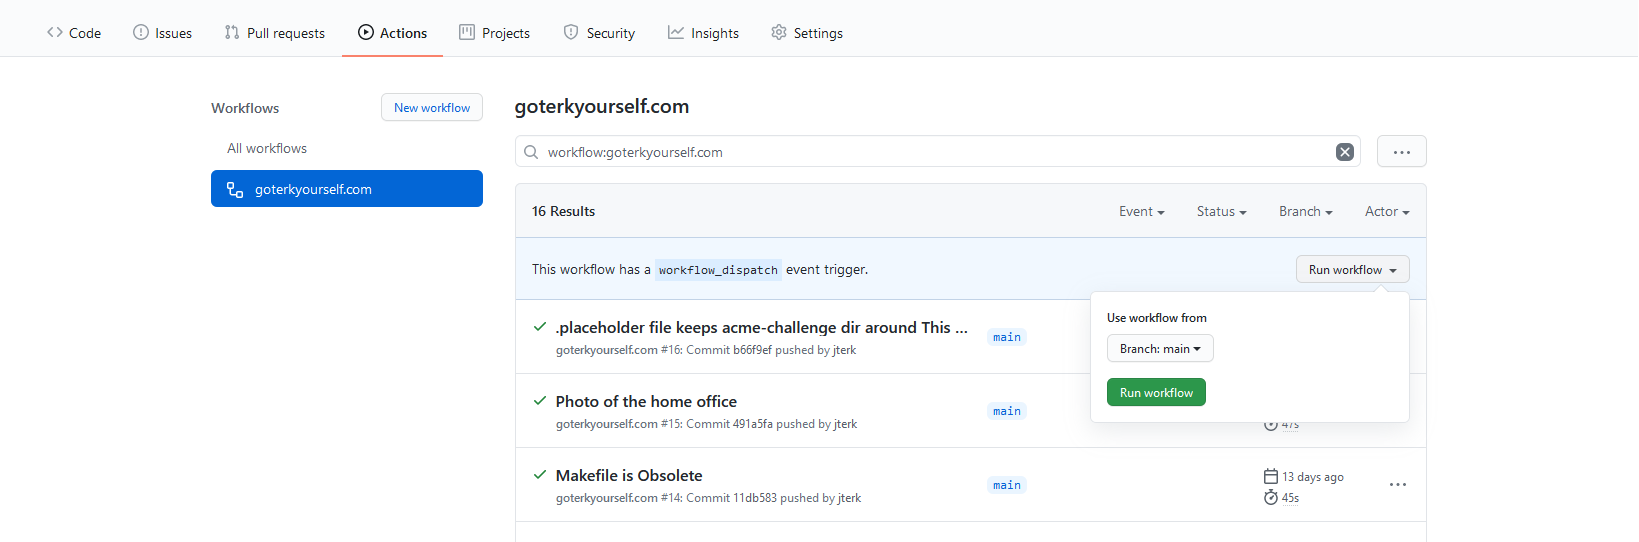
Navigate to the 'Actions' tab of the Github repository and select the workflow with the name
configured in main.yaml. The 'Run workflow' button will present a menu to select the branch to
use.If everything goes well the deploy will churn for a little bit and then display a check-box to
indicate success.
The Action that builds the site checks everything out anew when it runs, which means that the
mtimes of the files it generates will always be set to the generation time. rsync, by default,
uses the mtime as a cheap way to determine if a file should be sync-ed. To prevent every file on
the site from sync-ing every time this setup uses the -c option to indicate that rsync should
use file checksums to determine if they should be sync-ed. It also uses the -p option, combined
with --chmod=Dgo+rx,Fgo+r to ensure that all files and directories are readable by all
users. These can be modified to suit any specific case.